Harness On, Fear Off
If your dog ducks, freezes, or disappears under the bed when the harness comes out, they aren't being stubborn — they're avoiding something that has felt bad before. Here's how we teach a dog to walk into their own harness, one treat at a time.
Why dogs duck the harness
Harnesses ask a lot of a dog. Something goes over their head and blocks their eyes for a second, straps press against their chest and armpits, and the buckles make a sharp snap right beside their ears. For a dog who is sensitive about being touched or handled — or one who has had a harness shoved on in a hurry a few times — that adds up to a thing worth avoiding.
The fix isn't more speed or a firmer grip. It's a technique borrowed from veterinary behaviour work called desensitisation and counter-conditioning: introduce the scary thing in doses so small the dog barely reacts, and pair every dose with something excellent. In our case: harness predicts roast chicken. Every single time.
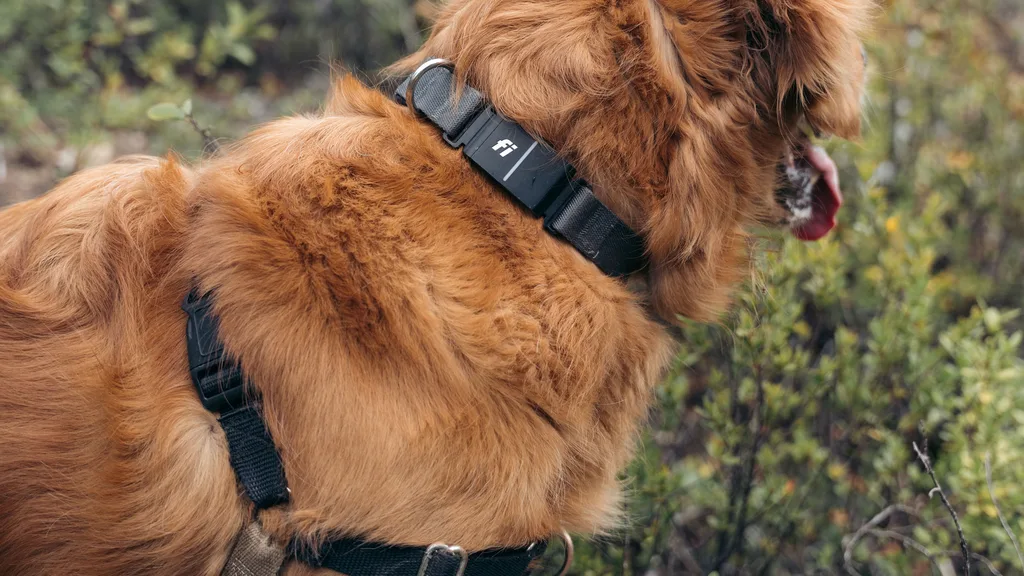
The rule that makes all of this work: your dog moves their own nose into the harness. You hold the harness still and you hold the treat still. You never reach over their head, chase their face, or push the loop on.
What you need
- Treats worth working for. Not kibble. Cheese, chicken, liver, hot dog — soft, smelly, pea-sized so you can hand out twenty of them without ruining dinner.
- A well-fitting harness your dog can't back out of. A light one with room for full shoulder movement is kindest for a worried dog. If yours truly hates anything going over the head, a step-in or side-clip style is a completely fair swap.
- A spare harness, if your dog is already frightened. Practise with the spare and keep walking with the old one, so the harness you're rebuilding a good feeling about only ever gets good moments attached to it.
- Two to five minutes. Short sessions, once or twice a day. Stopping while your dog still wants more is the whole trick.
The ladder: seven small steps
Work through these in order. Each one gets its own session — sometimes several. Only climb to the next rung when your dog is doing the current one eagerly, not just tolerating it.
1. Make the harness furniture
Leave the harness out in the room where you both hang out — visible, but not somewhere your dog has to squeeze past it. While they're out of the room, scatter a few treats around and on it. Let them discover it on their own terms and walk away whenever they like.
Ready to move on when: your dog wanders over to the harness by choice instead of giving it a wide berth.
2. Pay for looking
Pick the harness up, hold it still at your side, and the moment your dog looks at it, say "yes!" and feed them. Put it back down. Repeat ten times. If they won't come near while it's in your hand, hold it further away and feed for glancing at it from there.
Ready to move on when: the harness appearing makes your dog look at you expectantly.
3. The treat through the loop
This is the heart of it. Hold the neck opening of the harness in one hand. Post your other hand through the loop from the far side, with a treat between your fingers, so the treat is sitting just on the other side of the opening.
Now stay completely still. Your dog will stretch their nose toward the treat and, in reaching for it, put the tip of their muzzle into the loop. Let them eat it there. Then take the harness away for a second before offering again.
Each repetition, hold the treat a centimetre or two further back — so the nose travels a little deeper into the loop to reach it. Ten or fifteen reps like this and most dogs are pushing their whole face through to get to your hand.
Ready to move on when: your dog is actively driving their nose into the loop, not waiting to be asked.
4. On and straight back off
Same setup, but now let the loop slide right over their head as they reach — then immediately lift it off again and feed a second treat. On, off, party. The message you're building is that the harness coming off is easy and predictable, which is exactly what takes the pressure out of it going on.
Ready to move on when: their head goes through with no ducking, blinking, or backing up.
5. Buckles, separately
The snap of a plastic clip is its own scary thing, so give it its own training. With the harness off the dog entirely, clip and unclip it a few feet away and feed a treat after each click. Work closer only as long as your dog stays relaxed — behaviour consultant Pat Miller's guidance is that the dog should notice the sound without being bothered by it (Rover).
Ready to move on when: the click makes your dog look for a treat.
6. Straps and fastening
Head through the loop, then do up one buckle, feed, and undo it. Next session, one buckle held for three seconds. Then both. Keep your hands slow and stay off the top of their head — many dogs who "hate the harness" actually dislike being reached over, so approach from the side or underneath their chin.
Ready to move on when: your dog stands still and loose while you fasten both sides.
7. Harness means the good stuff
Now attach the leash and go somewhere excellent — even if it's just the end of the driveway and back. From here on, the harness reliably predicts a walk, a sniff, a car ride, a friend. Keep it that way and this training holds for life.
You've arrived when: the harness comes off the hook and your dog trots over and shoves their own head into it.
Read your dog, not the clock
There is no correct pace. Some dogs run this ladder in one afternoon; a rescue with a rough history can take weeks, and that's a normal, successful outcome. Your dog's body tells you which rung you're actually on.
Green light — keep going
Moving toward the harness on their own. Loose, wiggly body; soft eyes. Taking treats gently. Coming back for another go.
Pause — drop back a rung
Leaning away, turning the head, ducking. Lip licking, yawning, whale eye. Freezing, or suddenly ignoring treats. Leaving the room.
If you see anything in the second column, you haven't failed — you've been given useful information. Make the next repetition easier, pay well for it, and finish the session there.
Four things that quietly undo the work
- Treating after the harness is on. The treat has to arrive during the scary bit, not as an apology afterwards.
- Cornering your dog. If they can't leave, they can't say no — and a dog who can't say no stops trusting the process. Always train in open space.
- Getting it on "just this once" because you're late. One forced session can undo a week.
- Long sessions. Two good minutes beats ten mediocre ones every time.
When to bring in help
Book a certified, force-free trainer or a veterinary behaviourist if your dog growls, snaps, or air-snaps when the harness appears; trembles, drools, or pants heavily at the sight of it; or shows no improvement after a few weeks of patient work. These are fear responses, not defiance, and they're very treatable with the right hands on them.
Also worth ruling out: pain. A dog who suddenly objects to a harness they used to accept may be sore somewhere along the shoulders, neck, or spine. A vet check is a reasonable first stop.
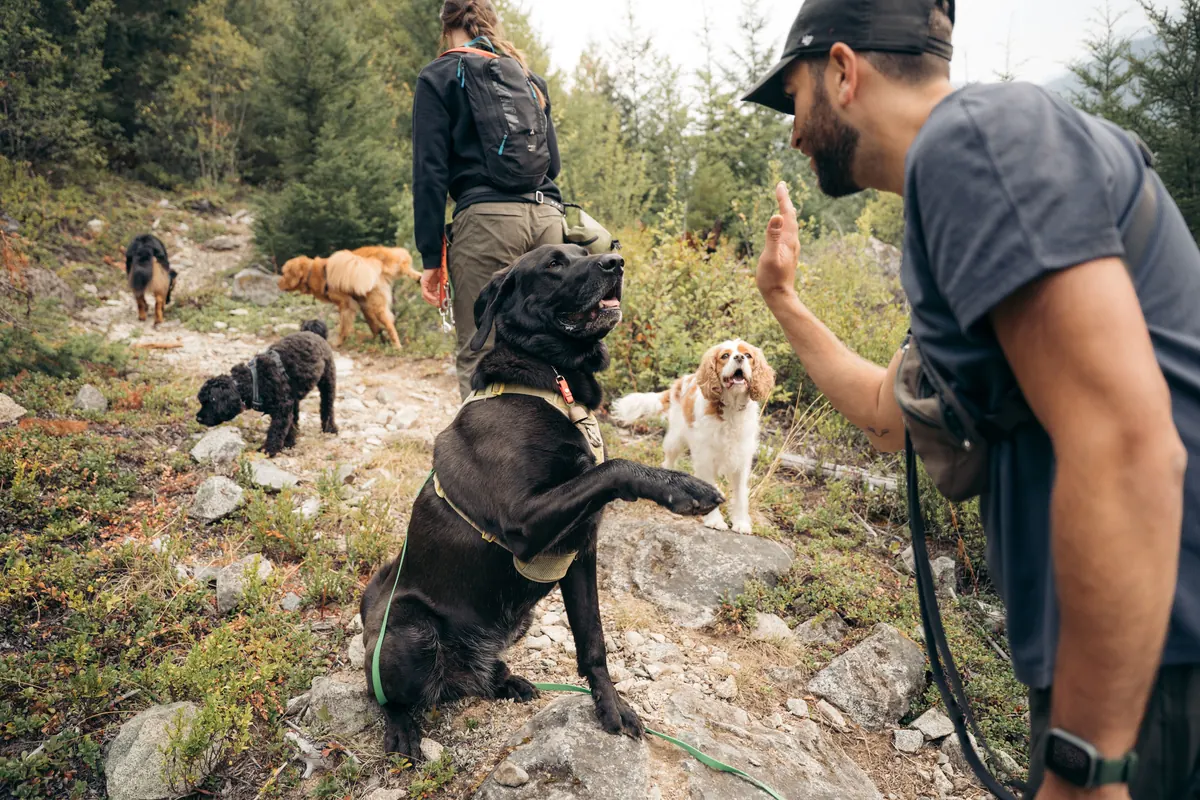
We walk about twenty dogs a day up here, and we put a lot of harnesses on. This is how we do it — no wrestling, no bribery after the fact, no dogs hiding behind the couch.